
Photo Video Maker AI
Use your photos to plan a short sequence. Generate a supported image-to-video shot, or try a supported start/end-frame pair. Review the clips and arrange the results in your video editor.
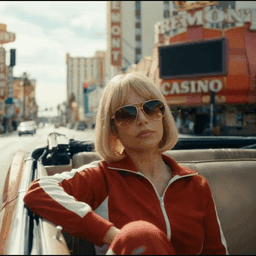
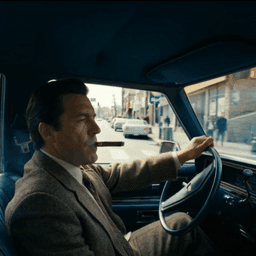
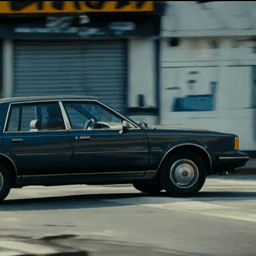
From Photos to Video in 3 Steps
Plan the inputs, generate supported shots, then review and edit the clips.
Plan a Shot for Each Photo
Choose images for the sequence and decide what should move in each shot. Start with one photo in an image-to-video mode.
Check Supported Input Modes
For a shot between two images, use a model and start/end-frame mode that accepts both frames. Set duration and framing using the options shown in Studio.
Review and Assemble the Clips
Inspect each generated clip. Arrange the clips, add titles or licensed audio, and choose the final sequence length in your video editor.
See What You Can Create
Visual ideas to help you plan a sequence from your own photos.
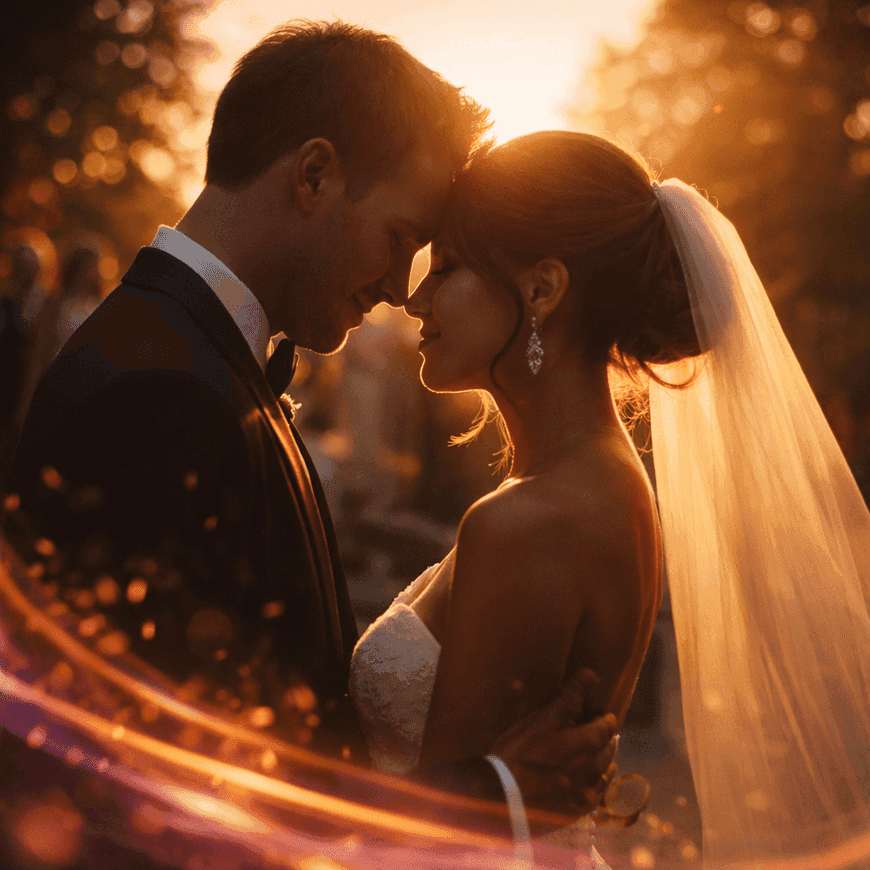
Wedding Sequence Idea
Plan individual shots around selected moments, then arrange the clips in your edit.
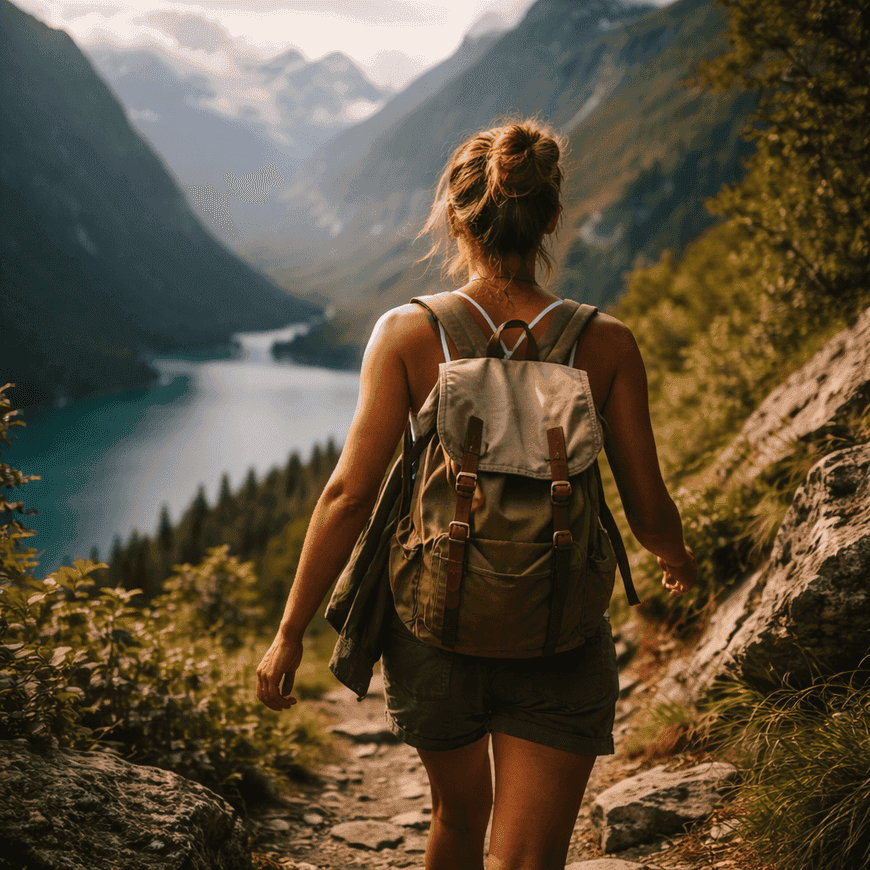
Travel Sequence Idea
Choose a view for each shot and use a clear motion brief.
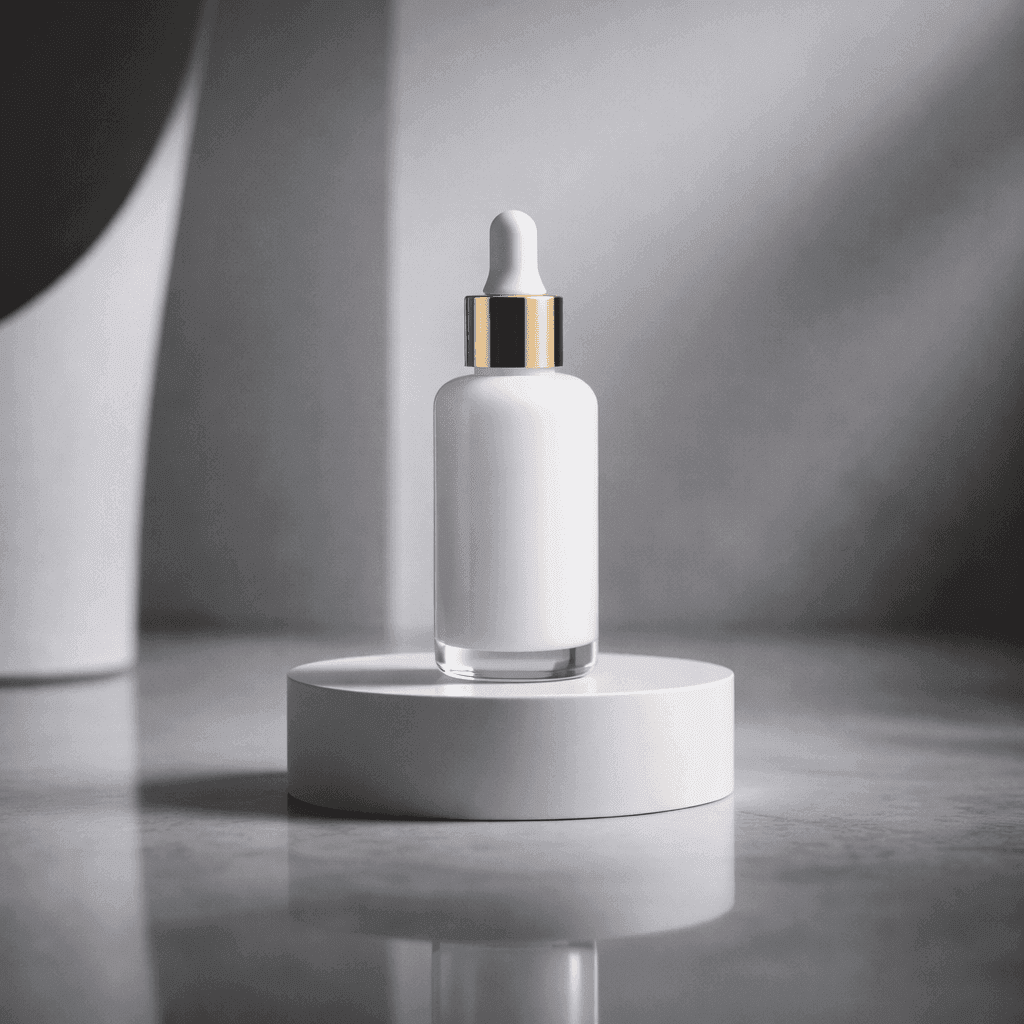
Product Sequence Idea
Plan shots from product photos and check shape, labels and framing.

Memory Sequence Idea
Start with a photo and review how the subject changes in the generated clip.
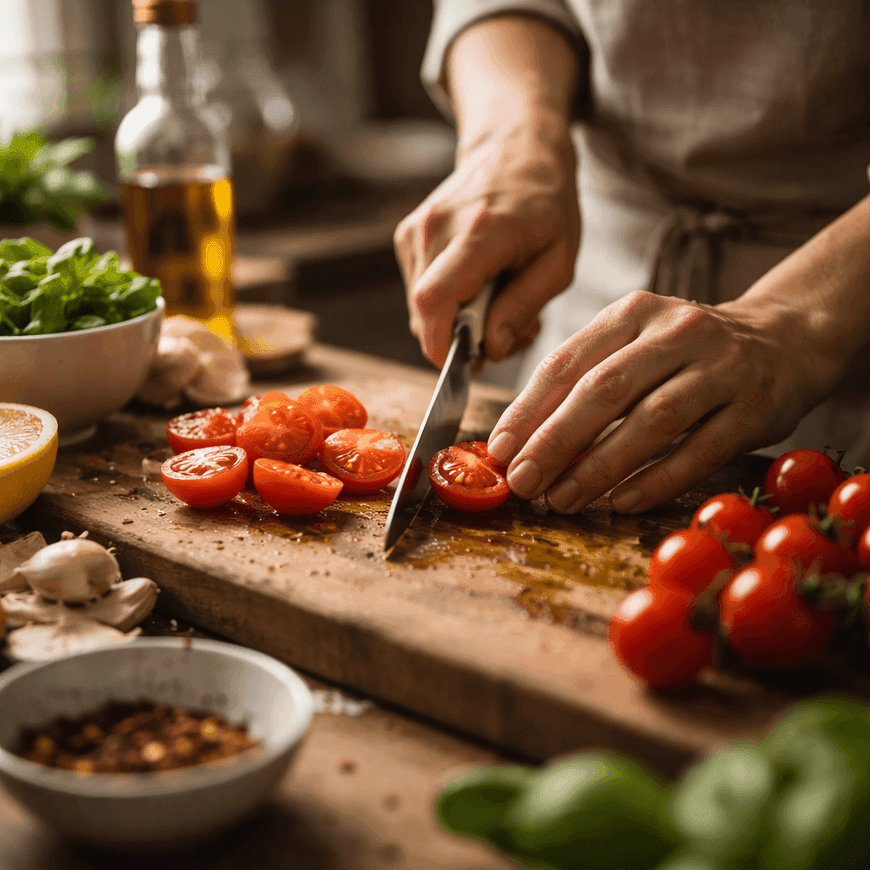
Recipe Sequence Idea
Plan a shot for each visual step and add labels when editing the clips.
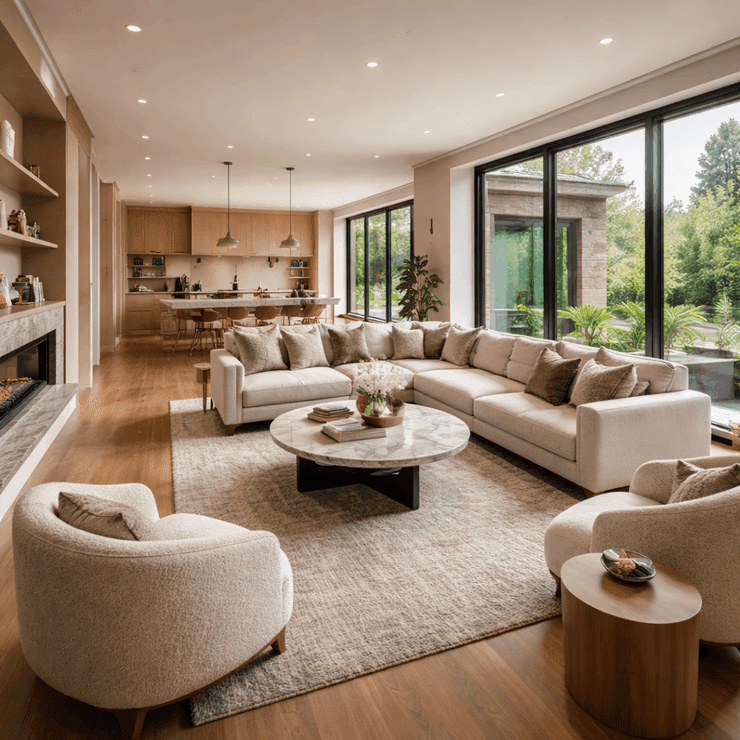
Property Sequence Idea
Plan separate views of a space and verify room details before editing.
Plan Your Photo-to-Video Workflow
Check the generation controls separately from the tools you use to edit a sequence.
Photo Inputs
Choose a starting image for an image-to-video shot. The selected model and input mode determine file requirements and the accepted image count.
Supported Frame Pairs
Use a supported start/end-frame mode when a shot needs both a first and last image. Check that the selected model accepts the pair.
Audio in Your Edit
Arrange approved clips in your video editor and add audio you have permission to use. Review that editor’s music and sync controls.
Clip Duration
Choose from the duration options shown for the selected model. Build a longer sequence by arranging multiple approved clips in your edit.
Titles and Captions
Add labels, dates or other text while arranging the clips in your video editor. Review the final wording and timing before exporting.
Framing and Output Review
Check the model’s available aspect ratios and resolution settings. Inspect the output and your destination platform’s requirements before posting.
Photo Videos for Every Occasion
From personal memories to professional marketing.
Social Media Memories
Choose moments from a trip or event and plan one short shot at a time. Review motion and framing before assembling a social post.
Platforms: Instagram Reels, TikTok, YouTube Shorts
E-commerce Product Videos
Plan a separate shot for each product angle. Check labels, logos and shape before assembling a listing video.
Platforms: Amazon, Shopify, Facebook Ads
Property Sequences
Plan separate exterior and interior shots. Review generated room details and add accurate labels in your editor.
Platforms: Property listings, Presentations
Event Highlights
Choose moments from event photos. Preview each generated shot and decide which ones to keep before editing a highlight sequence.
Platforms: Weddings, Conferences, Parties
Start Making Photo Videos
Review current plan access, credit costs and publishing terms before generating.
| Check | Current Details | What to Review |
|---|---|---|
| Current subscriptions | View pricing | Compare current prices and billing periods. |
| Model eligibility | View pricing | Check whether your plan includes the selected model or variant. |
| Generation credits | View pricing | Compare the current allowance with the displayed cost of your shots. |
| Publishing conditions | View pricing | Review watermark and commercial-use terms, plus rights to your inputs. |
Frequently Asked Questions
The selected model and input mode determine the accepted image count. For a sequence of several photos, plan individual image-to-video shots. A supported start/end-frame mode can use a first and last frame for one shot.
Add music when arranging the approved clips in your video editor, using audio you are allowed to use. Check that editor’s audio and sync controls separately from Muvi’s generation settings.
Check the framing options shown for the selected model and mode in Studio. Choose a supported ratio for each shot and review how the images are cropped before assembling the sequence.
This guide helps you plan several photo-based shots and arrange the results into a sequence. The Photo to Video guide focuses on planning motion from a single starting image. Both begin with a supported generation mode in Studio.
Clip duration depends on the selected model and mode. For a longer sequence, generate the supported shots and assemble them in your video editor. Check each model’s duration options before generating.
Explore More AI Video Tools
Explore more AI-powered video creation tools.
Turn Your Photos into Videos Today
Start with one photo and a clear motion brief. Review the generated clip, then plan the next shot for your sequence.
Model access, credit allowances and publishing terms vary by plan.